
On the 15th of August, I received my first green light for a photo exhibition at Buchdrucker in Hamburg from April to October 2019.
A friend of mine promoted my work and obtained for me this exhibition. So far, I sold several of my pieces by networking. The obvious step for me was now to exhibit.
Through this blog, I will try to describe step by step the progress of the exhibition.
So, first step, 15th of August: green light for exhibition
25th August: meeting with Buchdrucker during one of their exhibition to discuss what is expected. I am given full liberty on the content, sizes and number of creations. This is a luxury which is appreciable. I observed in detail the areas where the pictures will be exhibited and took picture for reference. Checked at the hanging principle and the weight limit for each piece.
One thing I should mention is that I decided to exhibit making my own frame. I think that they are part of the work presented as a whole. The project is therefore, in my case, wider than just a photo exhibition.
Such a project requires to be well-organised as quickly we can be overwhelmed with information leaving room for mistakes. The way I decided to manage it is through excel and Powerpoint files giving the detail and global view of the project.
Step 1: define the project
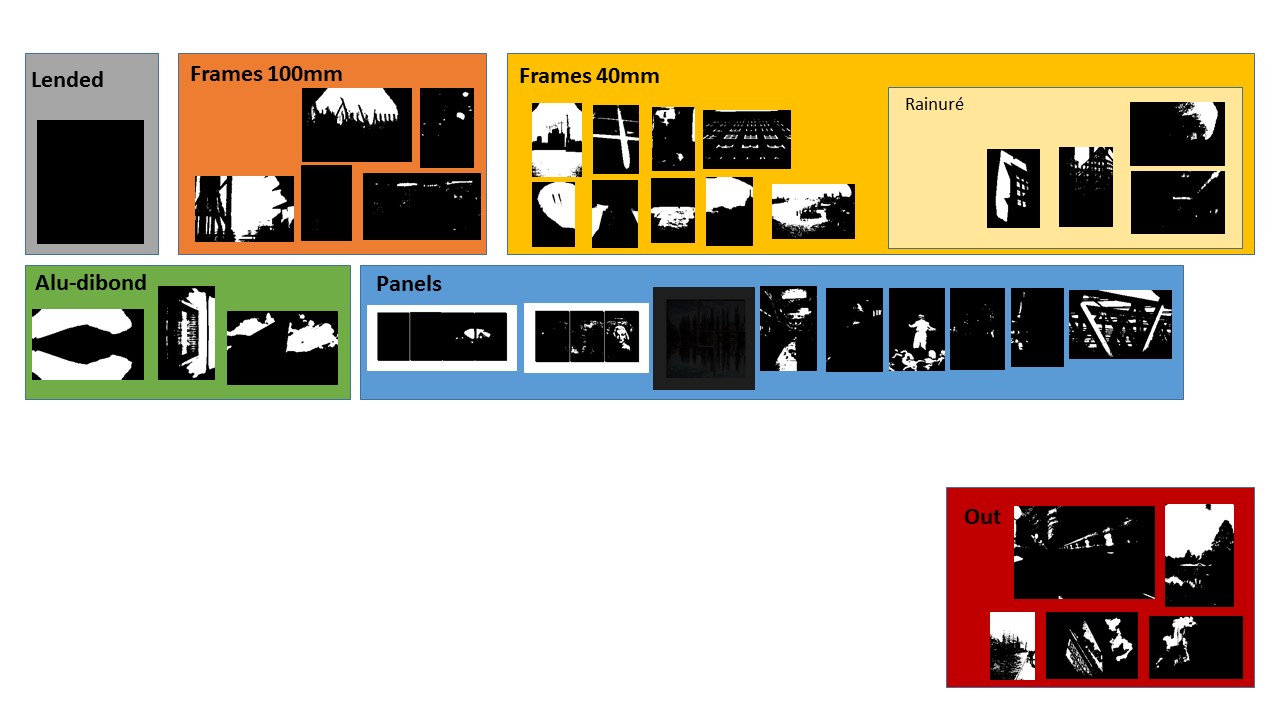
2nd September: define the pictures that will be exhibited. Based on the area, 30 pictures where shortlisted asking advise around me. The theme will be Hamburg, of course! In the file created to track the project, each picture is numbered.
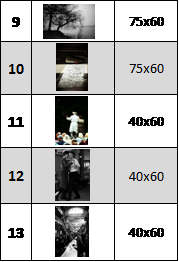
9th September: define the sizes for each picture. When this was decided, I resized all the pictures to the appropriate definition for the printing.
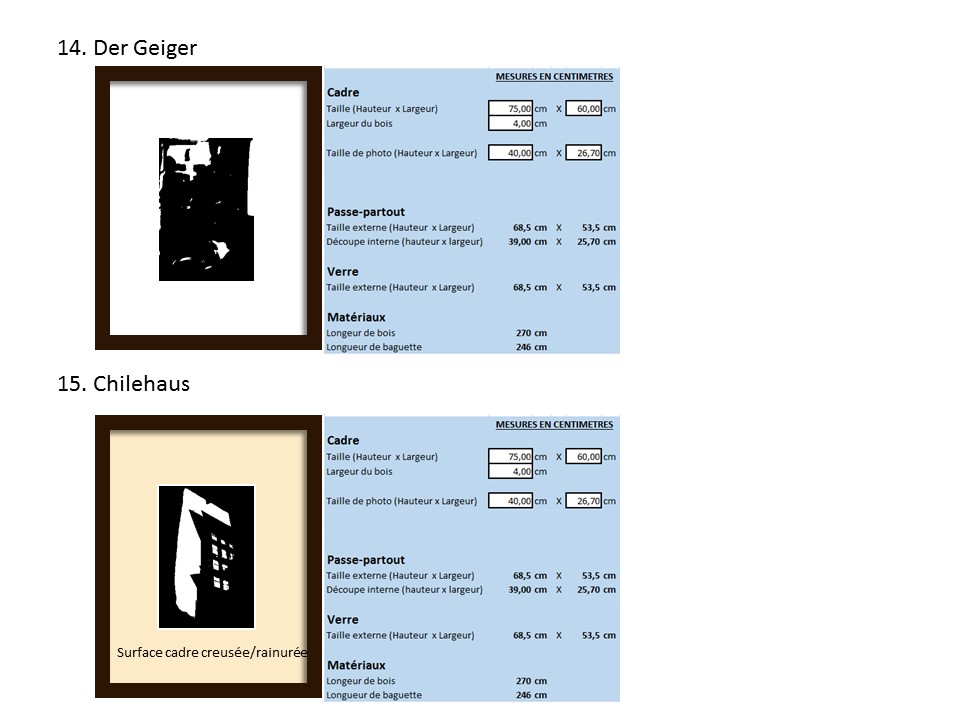
13th September: define the type of frame, size, passe-partout… When this was done, the global and technical view can be created.
Tip 1: Your organisation should be well-structured. This is a project and it should be managed in this way

Step 2: value the project
16th September: the next step was to value the project to evaluate the budget required and validate the quantities shortlisted, sizes and format. Each cost item were identified and estimated (sub-contracted activities like passe-partout, glass, prints, specific tools, etc). In my cost model I integrated an item “other” for small items that can cumulate and make a consequent value at the end (ex. varnish, nails, protections, sanding paper, brushes, etc).
Tip 2: calculate a required budget keeping margin for errors and unexpexted situation because, don’t be mistaken, you will meet some. I would also make sure that this budget is considered as lost as we cannot garantee any return on investment.
22nd September: When the budget is estimated and the budget availability is validated, the sub-contractors were approached in order to obtain quotations and negociate a global price. Obtaining this information at an early stage will validate your estimation or request to review it. Considering the volume, it is worth sending several requests at iso quality to compare. I noticed a delta of several hundreds of euros worth saving. Don’t hesitate to offer to make them partners to the exhibition by promoting their business (ex .use of logo on picture description tags, invitations to vernissage, price list, etc.). You never know, you could negotiate an extra-discount.
Tip 3: Confirm your budget with real quotations
Defining a selling price for art, is a real challenge. Valuate your own work is not an easy task. II have already sold pictures and I used this is a reference. Otherwise, look around (galeries, internet, etc) and define a estimated selling price. I also asked around me to comment on the prices I ask for, based on the formats. Although you need to think about it to see if you have a good business case, an idea is sufficient and the decision of the final selling price can be taken one or two weeks before the exhibition starts.
Of course, do not forget to plan and coordinate all steps to have all ready on time ! You have your project, budget and planning defined, so now it is time to produce!
Step 3: Launch production
I took the decision to start as early as possible to leave me the opportunity to manage serenely potential issues and also leave you time to manage other apsects like the promotion of the exhibition.
Tip 4: time is your best friend. So, start as early as you can.
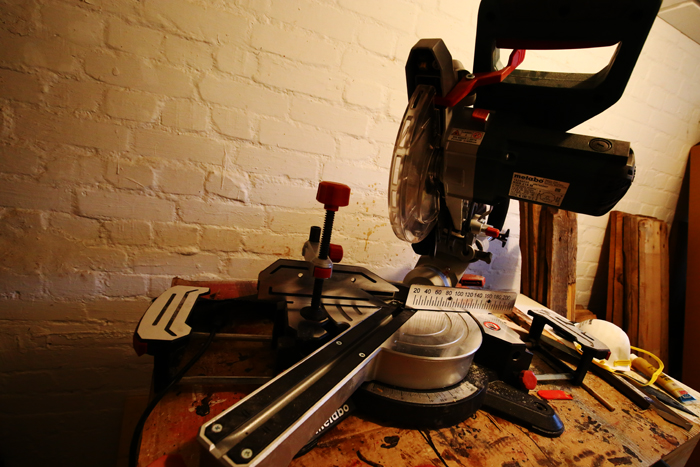
Making the frames and framing for 30 pictures is a small enterprise. This is why I studied how I could organise myself like a real production line because I felt I could quickly be overwhelmed. I have limited space which complicates the exercise to split actions where you perform the heavy work creating dust (cutting, sanding) and the one where you need a clean environment (gluing, painting).
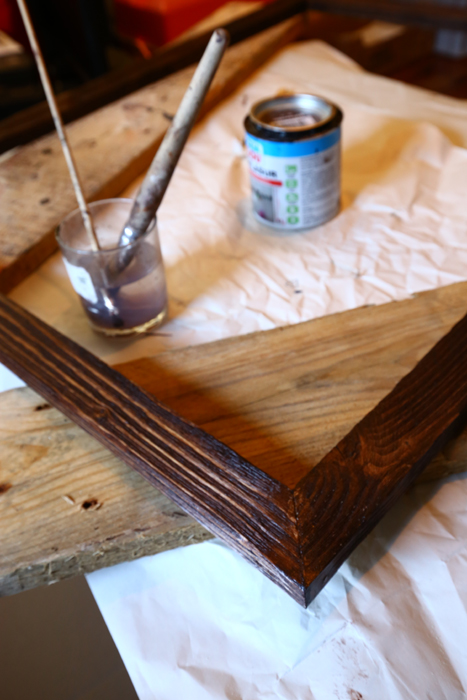
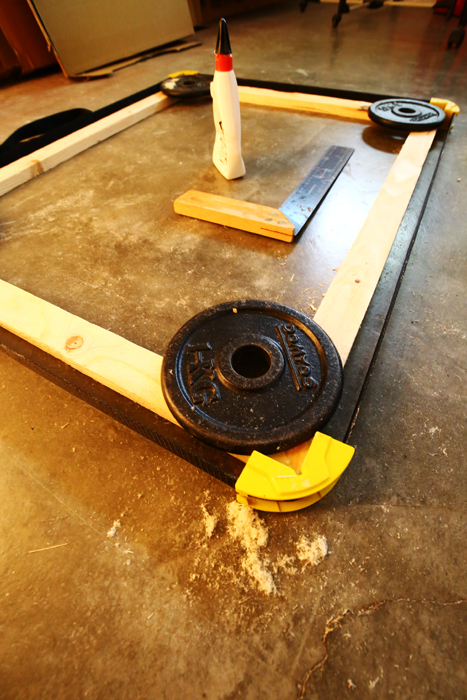
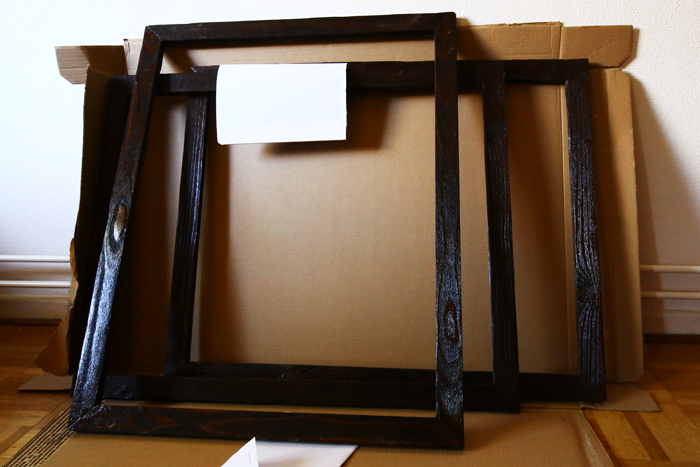
07th October: my first three frames are out of my mini-production line. As mentioned above, the organisation is complicated because of space issue, but it works so far. Now the first frames are completed, I used those first frames as reference to confirm the sizes of passe-partout and glass I will order. Although I closesy check the sizes at all stages, we can have slight variations.
12th October: I picked up all glasses, and started receiving the prints and passe-partout that I ordered by batch. No need to have more than you can produce. I have now all parts to start the assembly. Budget wise, my estimation was above real cost which is a good news. On the production side, I faced some issues with the gluing process that made me lose three days. I changed the glue and the frames came unstuck.
Tip 5: avoid to change a product that you know is doing the job.
Step 4: Start presenting your project

16th November: the project is taking form and I have completed the serie of smaller pictures (75x60cm) that I will expose. In terms of timing, still on track and having started early makes that issues can be takkled serenely. Because you will meet problems (I had to remake a full frame due to the final result, re-order a picture because not satisfied with the outcome, re-order some components because delivered not as ordered). So, in this case, time is your best friend. I have now starting making the bigger frames that require more work, technic and attention.
In parallele, we finalise the discussion about the vernissage.
We are 4 months before the event but it is also time to start organising the communication by contacting media and associations to present my project. Never think that they will not have an interest in what you do. In any case, you risk nothing to try. Keep also in mind that they have plannings they depend on. So earlier they are contacted more chance you will have they integrate you in their interest list. You want to make sure that as many people as possible will come to the exhibition. For example, I was proposed an article about myself before communicating on the exhibition which is the cherry on the cake. I started creating a list of professionnals that I would like to invite to the vernissages. Galeries, for example. Count also on your personal network that can spread the word. They will be happy to help you.
Tip 6: start the neworking as soon as possible.
February: As all projects, something always go not as planned. For the exhibition, I decided to produce 1/3 of my pictures on support with a process I only did once before. Of course, as you would expect and thanks to Murphy’s law, it went wrong (air bubbles, uneaven adherence, etc). The lesson I have learnt from it, is that, before launching at big scale or on main pieces of your exhibition (so basically that you feel it would devaluate your exhibition if not there) an assembly process, make sure you master it. Never underestimate the work, even if it doesn’t seem complex. If you don’t, may be you should think of subcontracting this activity. It has a cost, of course, but some times you gain in piece of mind. In my case, the impact is a lot of stress, extra work and, of course, extra cost. But this goes in my lessons learnt basket. Once again, I am grateful to have the time that I can manage these situations.
Tip 7: if you make yourself, sure you master your processes. Trying to save time can make you lose some.
I will finally organise a vernissage outside of the place of exhibtion. The reason being is, as it is my first exhibition, I want to celebrate it. So, I rent a room and organised finger food and live music.
If you plan to rent a room, I would give the following tips:
Tip 8: if you have several options, take care of the location of the room. You want to be failry central, in a quarter that have an interest for art.
Tip 9: check that the linear available correspond with what you need to hang all the pictures you planned to show. For this, you need to define the necessary overall length of the pictures, taking into consideration the gaps between them.
Tip 10: Check that it has a hanging system and lighting. If not, your cost will increase considerably as you will need to rent equipment.
Tip 11: define what hanging material you need if not available, taking into consideration the weight requirements
Tip 12: when you have selected a room, take all measurements you need (length of each wall you can hang, length of hanging system as sometimes it can be shorter than the walls, variation of heigth of ceiling for the pictures alignement,…).
Tip 13: make an installation mapping of your exhibition with the data of Tip 12. This will be extremly useful the day you will have to hang the pictures.
Tip 14: unless it is defined with the people renting the room, buy samples of hanging devices and check that it fits in the room. You will avoid un
20th April: the vernissage is passed. All went well and thanks to a good organisation. The setting up was ready half a day before with no issues. I have also learnt few things during this Vernissage. First, is that the majority of people that came were network linked. I admit I have under estimated this aspect trying to focus on external participants and neglected the people I knew. The second thing I have learnt is the external eye and constructive comments I received and that I will use for a next exhibition. All in all, a very good experience. More than that, an adventure.
Pictures of the exhibition can be found following this link.
To be followed…. (I hope)
iompicture.
